Install Under Cabinet LED Lighting Like a Pro
Want to install under cabinet LED lighting without visible wires? You've come to the right place. Here's a step-by-step guide to help you achieve professional-looking results.
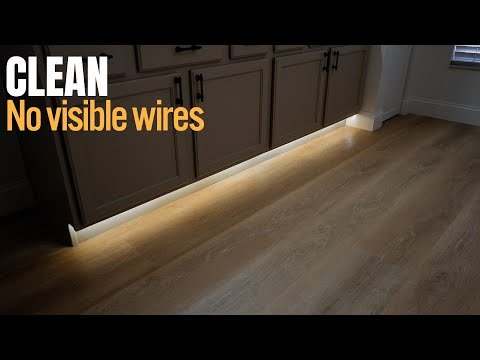
Under cabinet LED lighting is a popular choice for kitchen and bathroom renovations, and for good reason. Not only does it provide ambient lighting, but it also highlights the beauty of your cabinets and countertops. In this article, we'll show you how to install under cabinet LED lighting like a pro, without visible wires.
Materials Needed
Before we dive into the installation process, make sure you have the following materials:
* Under cabinet LED lighting kit (available at Amazon)
* Power drill
* Drill bits
* Jigsaw
* Random orbital sander (Amazon)
* Kreg pocket-hole jig (Amazon)
* Carpenter clamp set (Amazon)
* Epoxy resin kit (Amazon)
Step 1: Prepare the Area
Before you start installing the under cabinet LED lighting, make sure the area is clear of any debris or obstructions. Remove any screws or nails from the cabinet and set them aside for later use.
Next, use a random orbital sander to smooth out the surface of the cabinet. This will ensure a clean and even surface for the LED lighting to adhere to.
Step 2: Measure and Mark the Cabinet
Measure the length and width of the cabinet to determine the placement of the LED lighting. Use a pencil to mark the location of the lighting strips on the cabinet.
Use a jigsaw to cut out a small section of the cabinet to accommodate the LED lighting. This will provide a clean and flush finish.
Step 3: Install the LED Lighting
Install the under cabinet LED lighting kit according to the manufacturer's instructions. Make sure to follow the recommended spacing and wiring requirements.
Use a Kreg pocket-hole jig to create holes for the screws that will hold the LED lighting in place. This will ensure a secure and stable installation.
Use a carpenter clamp set to hold the LED lighting in place while you attach it to the cabinet.
Step 4: Secure the LED Lighting
Once the LED lighting is in place, use epoxy resin to secure it to the cabinet. This will provide a strong and durable bond.
Allow the epoxy resin to dry completely before touching or handling the cabinet.
Conclusion
Installing under cabinet LED lighting without visible wires requires some planning and patience, but with the right tools and materials, you can achieve professional-looking results. Remember to follow the manufacturer's instructions and take your time to ensure a secure and stable installation.
Don't be afraid to hire a professional if you're not comfortable with the installation process. You can find local service pros near you through Local Services on It's Buzzing.
Share this content and earn as an ambassador through It's Buzzing Ambassador Program.