What is the Best Affordable HVAC Inspection Camera?
The best affordable HVAC inspection camera is one that provides clear and detailed images of hard-to-reach areas without breaking the bank.
Whether you're a professional HVAC technician or a DIY enthusiast, an affordable HVAC inspection camera can help you diagnose and fix issues more efficiently.
Here are some practical sections to help you find the right camera for your needs.
Section 1: Choosing the Right Camera
When selecting an affordable HVAC inspection camera, consider the following factors:
1. Resolution: Look for a camera with high resolution (at least 720p) to capture clear images.
2. Field of View: A wider field of view (around 120°) allows you to see more in a single shot.
3. Length and Flexibility: A longer and more flexible cable (up to 10 feet) provides more reach and maneuverability.
4. Power Source: Consider a camera with a long-lasting battery or one that can be powered by a USB cable.
5. Durability: A rugged and waterproof design ensures the camera can withstand harsh environments.
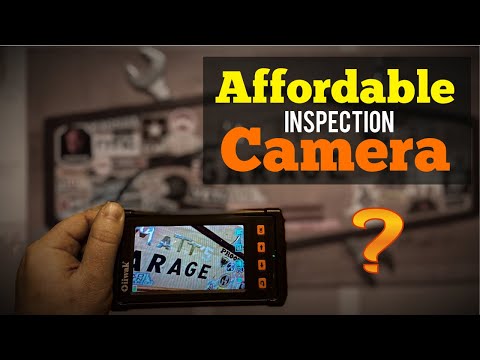
Some popular affordable HVAC inspection camera options include the Oiiwak Endoscope and the Fieldpiece SMAN Refrigerant Manifold, which can be connected to a smartphone or tablet for a larger display.
Section 2: Essential Accessories
While the camera is the primary tool, it's essential to have the right accessories to get the most out of it:
1. HVAC Vacuum Pump: A 2-stage vacuum pump, like the one from Amazon, helps to create a strong suction to remove debris and air from the system.
2. Thermal Camera: A thermal camera, such as the FLIR Smartphone Attachment, can help detect temperature anomalies and diagnose issues more efficiently.
3. Multimeter: A multimeter, like the Fluke 117, is useful for measuring voltage, current, and resistance in electrical systems.
These accessories can be purchased separately or as part of a bundle with the camera.
Section 3: Tips for Effective Inspection
To get the most out of your affordable HVAC inspection camera, follow these tips:
1. Inspect in a well-lit area to reduce glare and improve image quality.
2. Use a flexible cable to navigate through tight spaces and corners.
3. Take multiple shots from different angles to capture a more comprehensive view.
4. Use a thermal camera to detect temperature anomalies and diagnose issues more efficiently.
5. Keep your camera and accessories clean and well-maintained to ensure optimal performance.
Conclusion
With the right affordable HVAC inspection camera and accessories, you can diagnose and fix issues more efficiently and effectively.
Remember to consider the factors mentioned above when selecting a camera, and don't forget to invest in essential accessories to get the most out of your investment.
Whether you're a professional or a DIY enthusiast, an affordable HVAC inspection camera is a valuable tool to have in your toolkit.
Support local businesses in your community by purchasing from local suppliers or hiring a professional from Local Services on It's Buzzing to help you with your HVAC needs.
Share this content and earn as an ambassador through the It's Buzzing Ambassador Program to promote your favorite products and services.