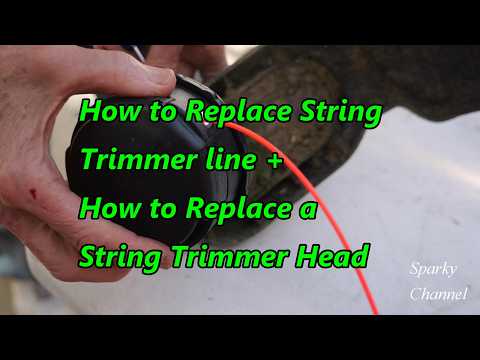
Replace String Trimmer Line and Head: A Step-by-Step Guide
Want to know how to replace a string trimmer line and head? Replacing a string trimmer line and head is a simple process that can be done with basic tools and some basic knowledge. In this article, we will walk you through the steps to replace a string trimmer line and head, and provide you with some helpful tips and tricks along the way.
Tools and Materials Needed
To replace a string trimmer line and head, you will need the following tools and materials:
- A new string trimmer line
- A string trimmer head
- A pair of gloves
- Safety goggles
- A screwdriver or wrench
- A replacement string trimmer head (if necessary)
It's also a good idea to have a Fluke 117 Electrician's Multimeter on hand to test for any electrical issues before starting work.
Step 1: Remove the Old Line
Start by removing the old string trimmer line from the head. This is usually done by pulling the line out of the head or by using a screwdriver or wrench to loosen the retaining clip. Be careful not to damage the head or the line.
Once you have removed the old line, inspect the head for any damage or wear. If the head is damaged, it may be necessary to replace it.
When removing the old line, it's also a good idea to wear a pair of gloves to protect your hands from the sharp edges of the line.
Step 2: Install the New Line
With the old line removed, it's time to install the new one. Start by threading the new line through the head, making sure to keep it tight and even. You can use a Fieldpiece SMAN Refrigerant Manifold to help you thread the line through the head.
Once the new line is in place, secure it with the retaining clip. Make sure the clip is tightened securely to prevent the line from coming loose while in use.
When installing the new line, it's also a good idea to wear safety goggles to protect your eyes from any debris that may be thrown up during the process.
Step 3: Replace the Head (If Necessary)
If the head is damaged or worn out, it may be necessary to replace it. To replace the head, start by removing the old one from the trimmer. This is usually done by loosening the retaining screws or clips that hold the head in place.
Once the old head is removed, inspect the trimmer for any damage or wear. If the trimmer is damaged, it may be necessary to take it to a professional for repair.
When replacing the head, it's also a good idea to use a FLIR Thermal Camera to inspect the trimmer for any heat damage or other issues.
Conclusion
Replacing a string trimmer line and head is a simple process that can be done with basic tools and some basic knowledge. By following the steps outlined in this article, you should be able to replace a string trimmer line and head with ease. Remember to always wear protective gear and follow safety guidelines when working with power tools.
For more information on lawn care and DIY gardening, be sure to check out our Explore Industries section, where you can find a wealth of information on topics such as Local Services and Buy Local Directory.
Share this content and earn as an ambassador by joining our It's Buzzing Ambassador Program and get rewarded for your efforts!